Build Enviroment Setup on Microsoft Windows
Introduction
The 3D Photography software is written in C++. In order to compile and run the software on you computer you must have a working compiler, Qt 5.6.0, and Cmake 3.5.0. In this section we will guide you to setup your enviroment.
1 Compiler: Visual Studio Community 2015
In Microsoft Windows we will use Visual Studio Community 2015 to compile the software. Install Visual Studio by downloading the online installer. Open the installer and follow the instructions.
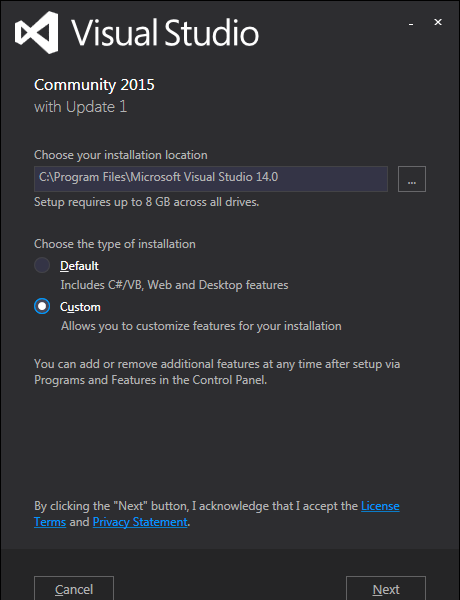
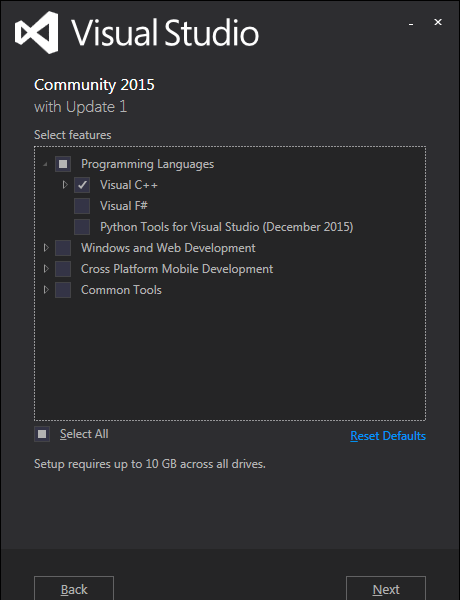
Select "Custom" and next choose to install only "Visual C++" as shown in the images above. The installer will download the required files from the internet and install the required components.
2 Cmake
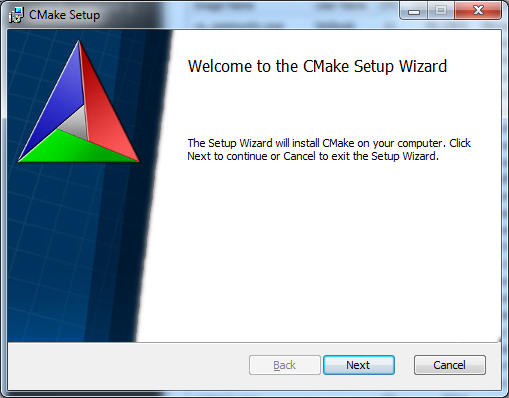
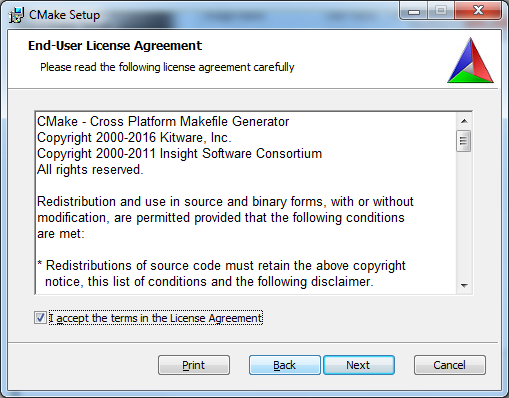
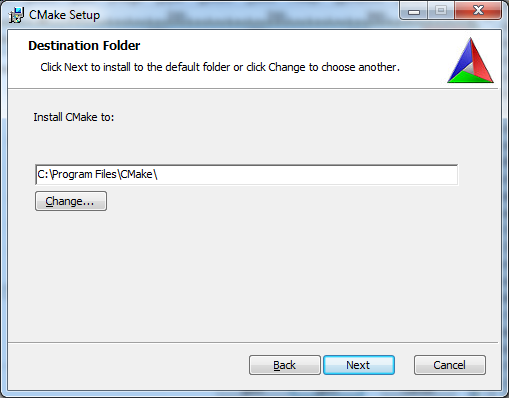
Download and open Cmake 3.5.0 installer. The wizard will guide you in the installation. Refer to the following screenshots as an example, click on each image to zoom in.


3 Qt Framework
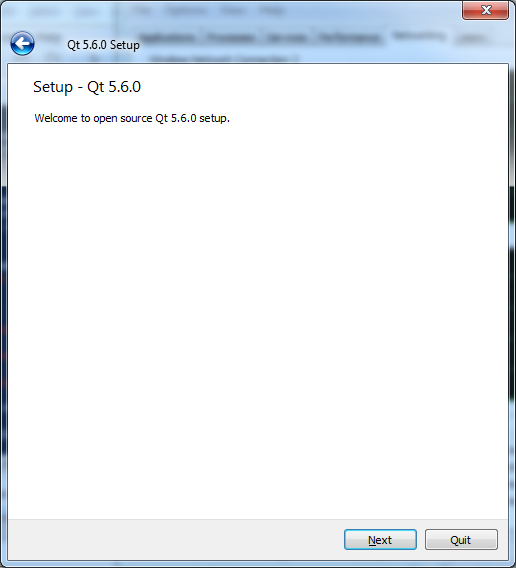
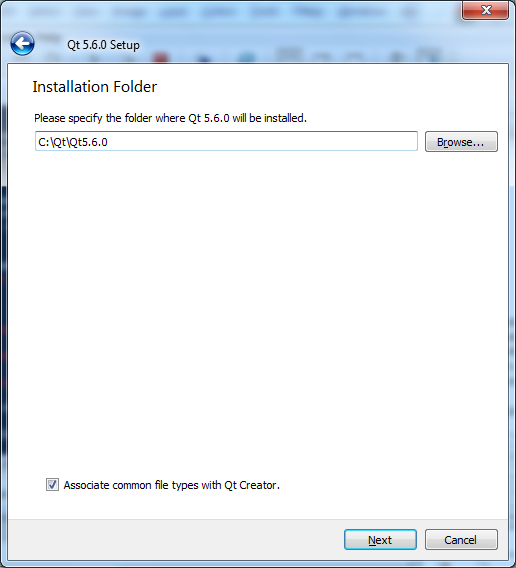
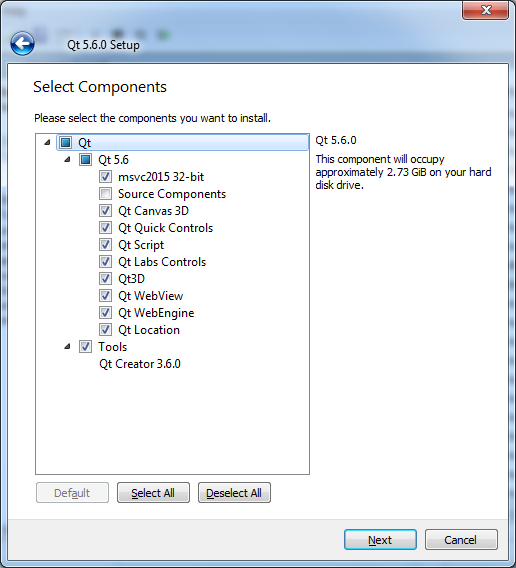
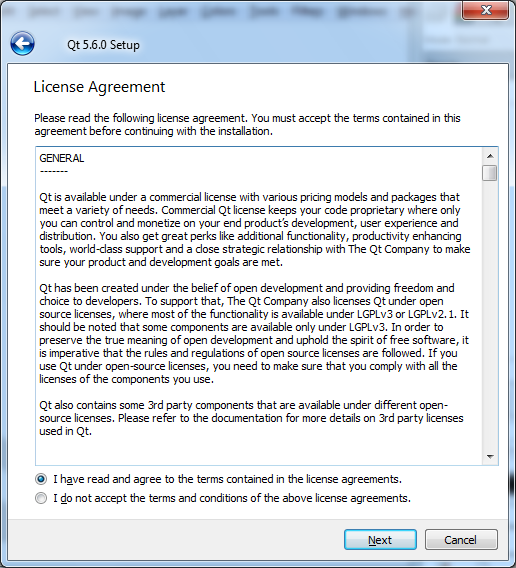
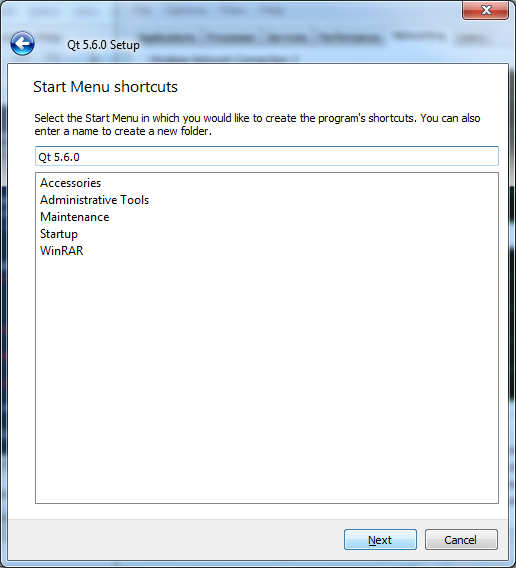
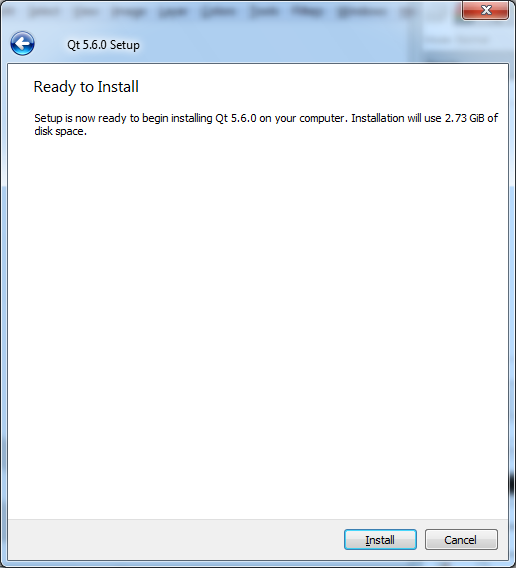
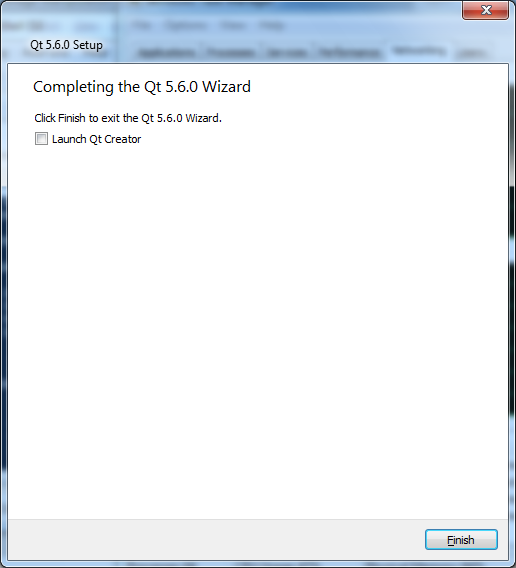
The 3D Photography software is based on the Qt Framework. To install, download either Qt 5.6.0 Installer x86 (32bits) or Qt 5.6.0 Installer x64 (64bits) (about 800MB) corresponding to you version of Microsoft Windows (either 32bits or 64bits). Open the installer and follow the instructions, look at the next screenshots as reference.
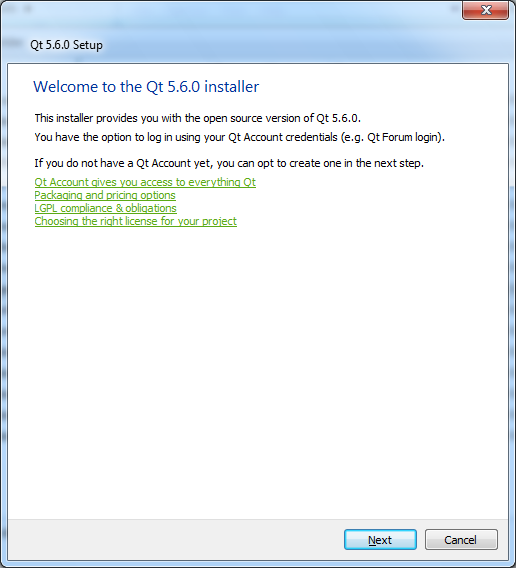
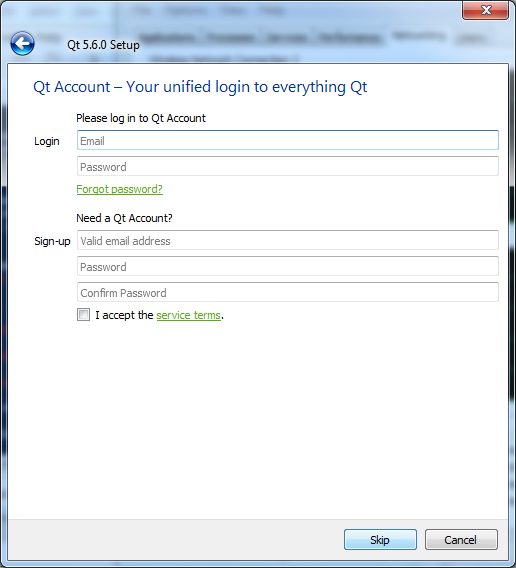
Feel free to click 'Skip' at the screen asking for a Qt account.
3.1 Add Qt to your path
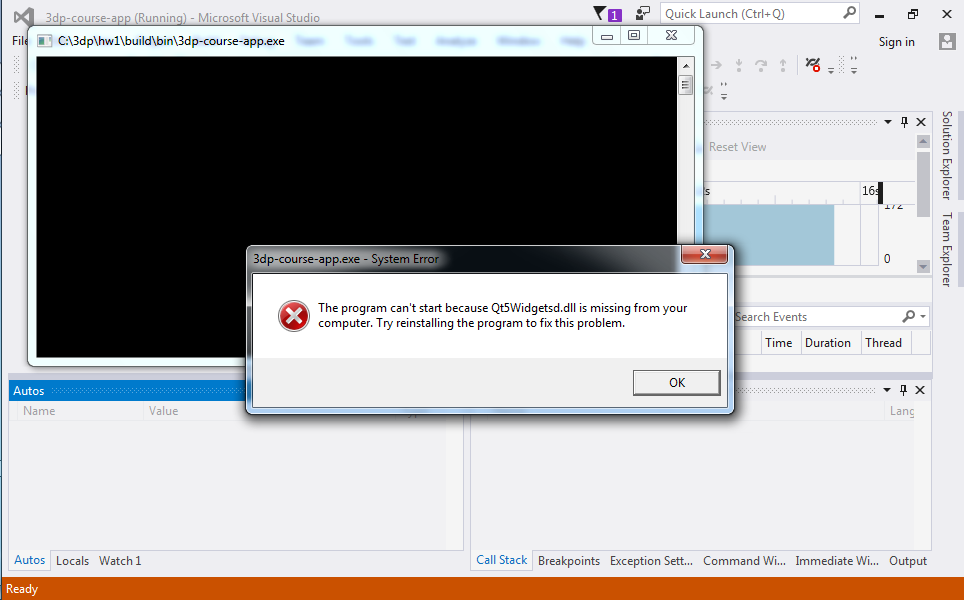
Qt binary directory must be added to you Microsoft Windows path variable, or you will see the following error when trying to execute the 3D Photography software: 'The program can't start because QtWidgetsd.dll is missing...'.
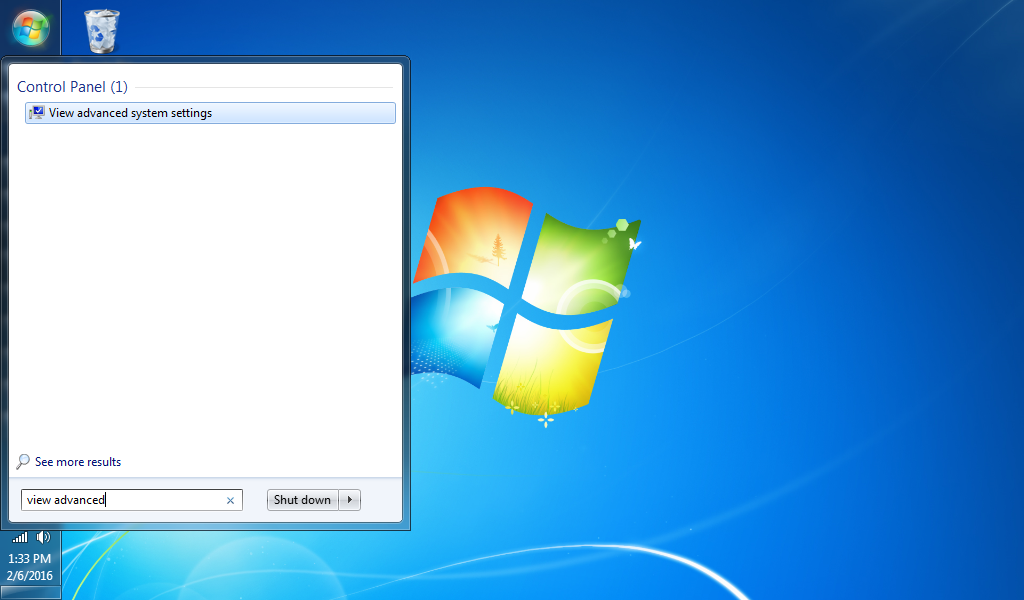
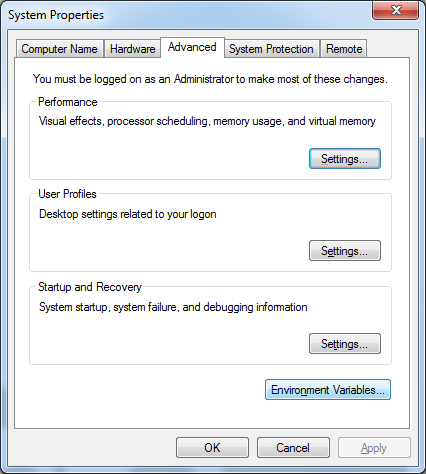
Go to the Start menu and type 'view advanced' to open the 'View advanced system settings' dialog. On the dialog click the 'Enviroment Variables...' button.
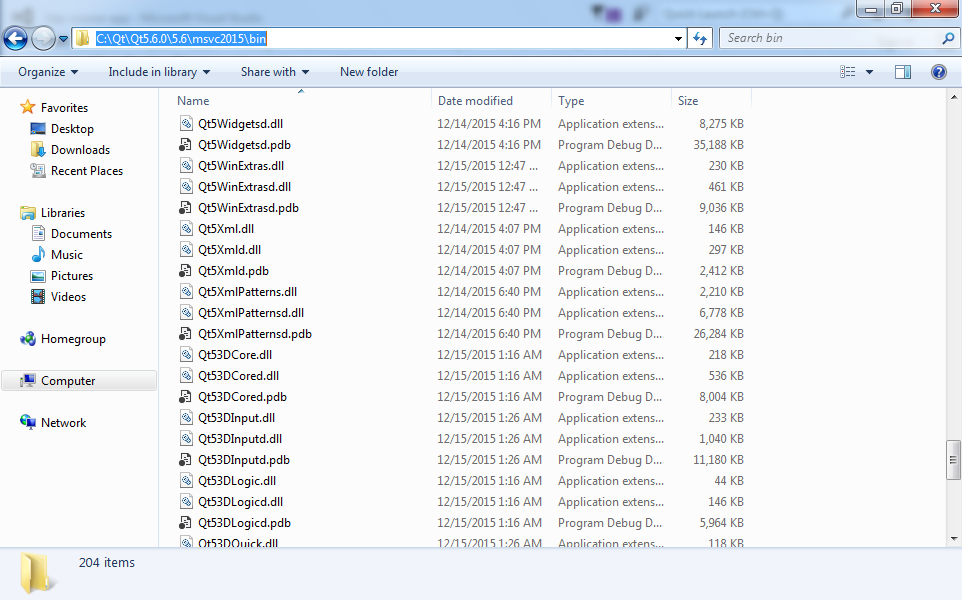
Go to the Qt installation directory and find the 'bin' directory. By default it should be 'C:\Qt\Qt5.6.0\5.6\msvc2015\bin' in a 32bits setup and 'C:\Qt\Qt5.6.0\5.6\msvc2015_64\bin' in a 64bits setup. Copy the path to the clipboard (Ctrl+C) or remember its location.
Go back to the settings dialog and search for 'Path' among the System variables at the bottom. Click the 'Path' variable to select it and click on the 'Edit...' button. Use the arrow keys to carefully move to the end of the current path (WITHOUT DELETING ANYTHING) and add at the very end a ';' separator plus the path to the Qt 'bin' directory form the previous step (use Ctrl+V to paste). It might look similar to the following screen:
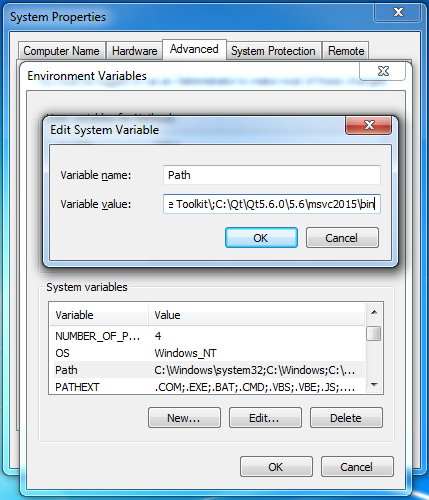
Press 'Ok' on the several screens to close all the dialog windows and save the modified path. If Visual Studio was open, you must close it and open it again to take the new path.
4 Building and running the 3D Photography software
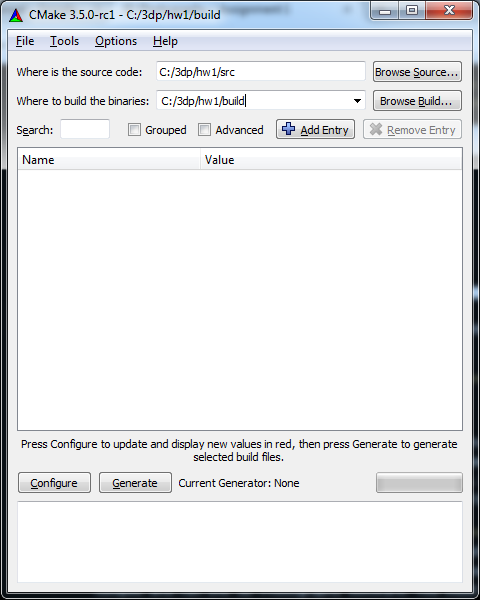
Donwload the source code and unzip it to a work folder (e.g. C:\3DP). Open Cmake GUI and fill the 'Where is the source code' box with the path the the 'src' directory in the code folder. Fill the box below, the build path, with the same path but erase 'src' and write 'build' instead, it should look similar to this:
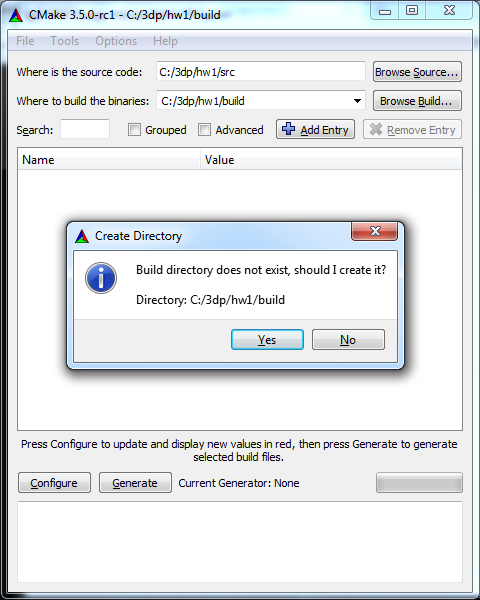
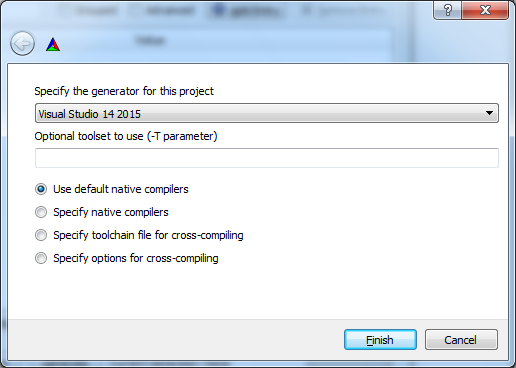
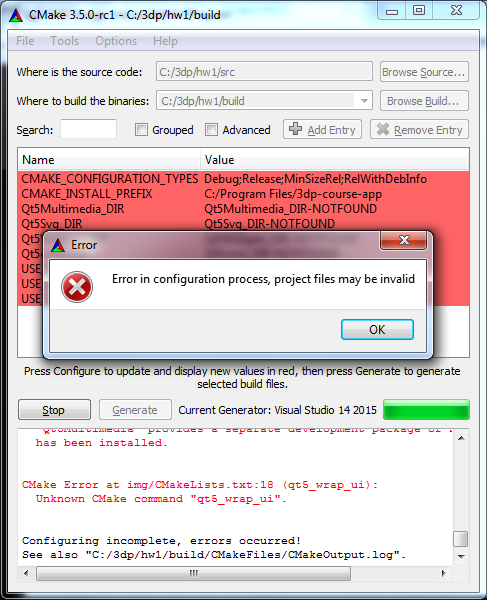
Click on 'Configure' and agree to create the build directory. On the next screen choose 'Visual Studio 14 2015' or 'Visual Studio 14 2015 Win64' to generate either a 32bits or 64bits project. The configuration script will run and finish with an error message because we have yet not set the location of some Qt modules.
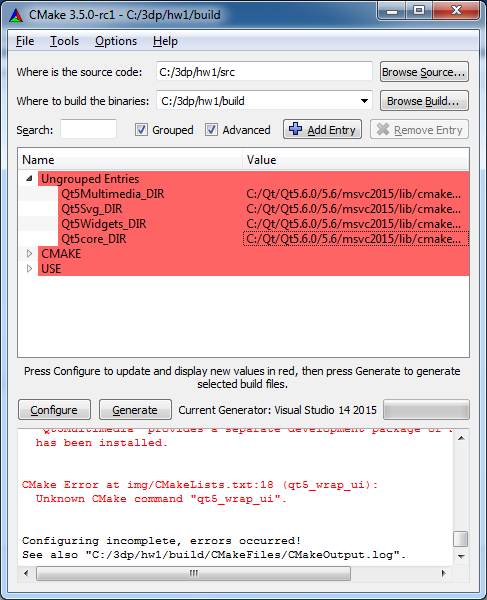
Check the 'Group' and 'Advanced' checkboxes to organize the options. Expand the 'Ungrouped entries' and fill the path for each Qt5 module which appears as DIR_NOTFOUND. For each module you must point Cmake to the directory with the corresponding Cmake files. On a default 32bits installation these are:
- Qt5core_DIR -> C:/Qt/Qt5.6.0/5.6/msvc2015/lib/cmake/Qt5Core
- Qt5Widgets_DIR -> C:/Qt/Qt5.6.0/5.6/msvc2015/lib/cmake/Qt5Widgets
- Qt5Svg_DIR -> C:/Qt/Qt5.6.0/5.6/msvc2015/lib/cmake/Qt5Svg
- Qt5Multimedia_DIR -> C:/Qt/Qt5.6.0/5.6/msvc2015/lib/cmake/Qt5Multimedia
On a default 64bits installation these are:
- Qt5core_DIR -> C:/Qt/Qt5.6.0/5.6/msvc2015_64/lib/cmake/Qt5Core
- Qt5Widgets_DIR -> C:/Qt/Qt5.6.0/5.6/msvc2015_64/lib/cmake/Qt5Widgets
- Qt5Svg_DIR -> C:/Qt/Qt5.6.0/5.6/msvc2015_64/lib/cmake/Qt5Svg
- Qt5Multimedia_DIR -> C:/Qt/Qt5.6.0/5.6/msvc2015_64/lib/cmake/Qt5Multimedia
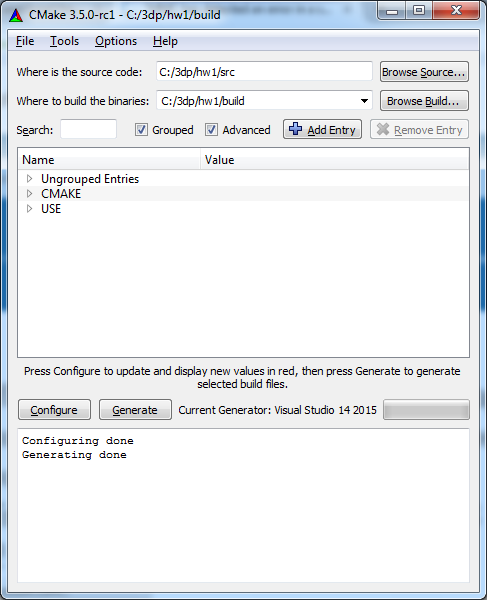
Repeat 'Configure' and fix errors until no more error messages appear. Click on 'Generate' to create a Visual Studio project and close Cmake.
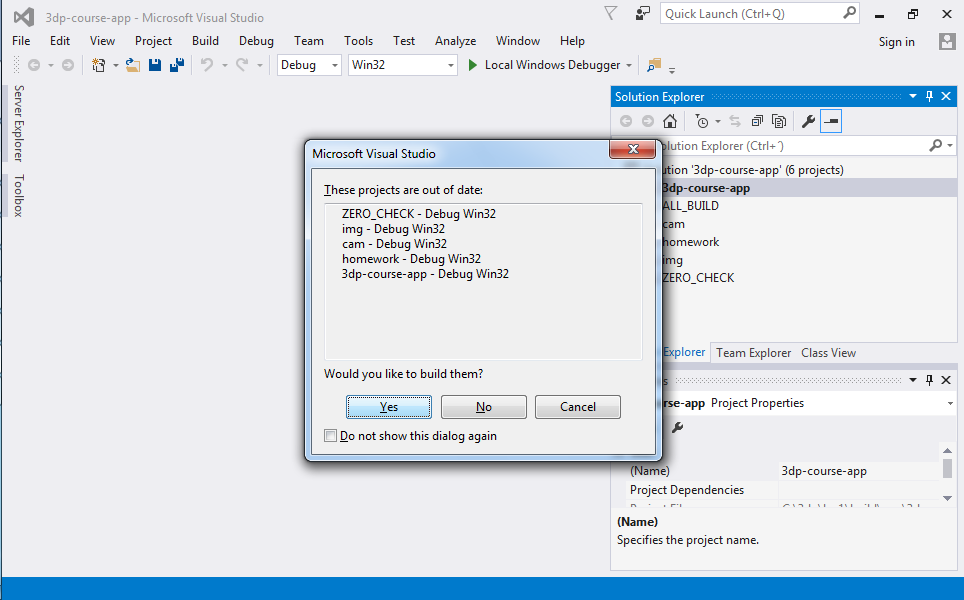
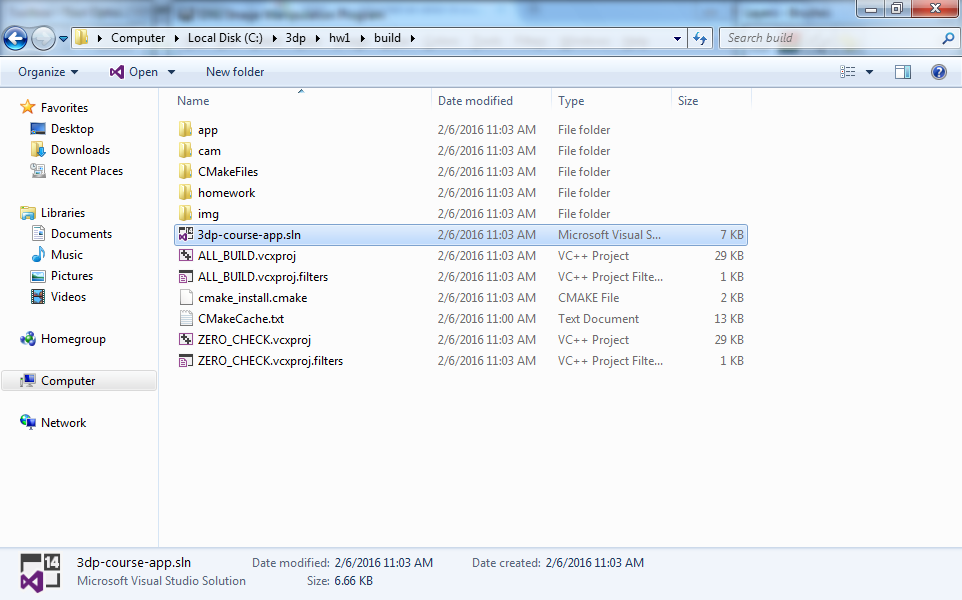
Browse the newly created 'build' directory in a File Explorer window and double-click the '3dp-course-app.sln' file to open Visual Studio. Once the solution is loaded is convenient to right click over '3dp-course-app' on the Solution Explorer and choose 'Set as StartUp Project' after what it will appear with bold font.

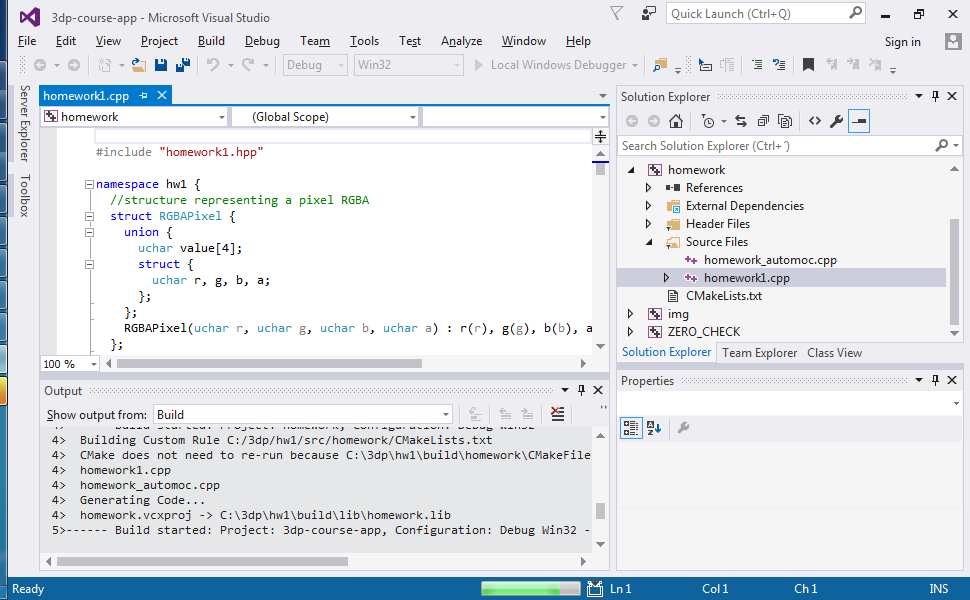
Compile and run the software clicking on the green triangle at the toolbar. You will find the 'homework1.cpp' file on the solution solution explorer to complete your homework.