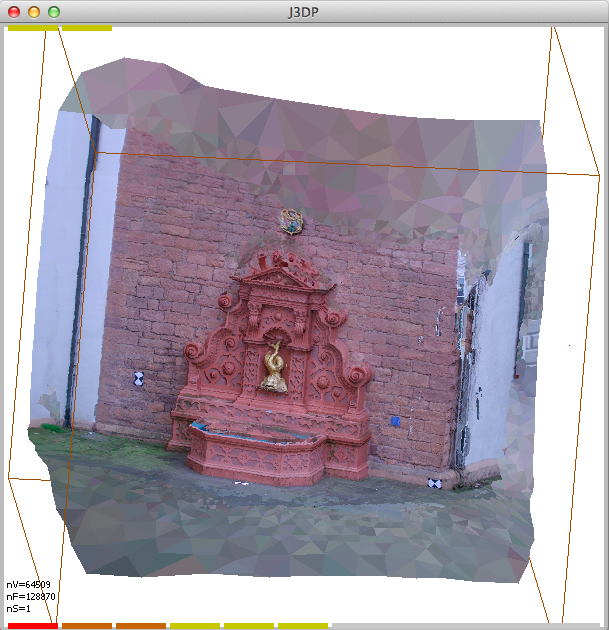
J3DP Java 3D Viewer

UPDATED Thu Jun 27 2013
1) Download the zip file
j3dp.zip and save it in a directory contained in
your PATH environment varible.
1) Using a a text editor create shell script containing the following command
java -cp j3dp.zip -Xms1024M -Xmx1024M -XX:PermSize=256M
-XX:MaxPermSize=256M J3DP -d $1
name it for example j3dp (without extension), save it in
the same directory as the zip file, and make it executable.
With these two files in the same directory, you can run the shell
script from the command line from that directory. You can run it
without arguments, or with the name of an input file as argument.
If you work in a Windows environment, open the directory where you
have the zip file in Windows Explorer. Create a shortcut by
righ-clicking somewhere on the background, choosing New, and then
Shortcut. In the item location field enter the following text
javaw -cp j3dp.zip -Xms1024M -Xmx1024M -XX:PermSize=256M
-XX:MaxPermSize=256M J3DP
and click next. In the next panel select a name for the shortchut,
such as j3dp, and click Finish.
Now you can run the program by double clicking on this link in
Windows Explorer.
If neither one of these two methods starts the program, then you don't
have Java intalled in your system. You need to install the Java
Runtime Environment (JRE) or the Java Development Kit (JDK). Even if
you have the JRE or JDK installed in your machine, you may not be able
to run the program because your version of Java is too old. In both
cases you should visit
the
Oracle Java SE Download Page and download and install one of these
packages. If you have a Mac and you keep your system updated, the
program should run.
You can also save the j3dp.zip file somewhere else, but if you do so
you will have to edit you CLASSPATH environment variable to add the
location of the zip file. For example, you can copy the windows
shortcut to your desktop, and edit the "Start In:" field to make it
start at the directory where the j3dp.zip file is.
3) You can also download the following sample files
- bunny72.wrl
- egypt+normal.wrl
- egypt.jpg and egypt.wrl
- wall-color+normal.wrl
- wall-color.wrl
- wall-normal.wrl
- excavation-vcolor.ply
- excavation-fcolor.ply
- excavation-image.ply and excavation-image.jpg
4) Run the 'j3dp' script with one of these files as arguments. Alternatively, run the script without arguments and load one of the files by clicking on the LOAD button and selecting a file from the popup dialog. You can also drag and drop files on the application.
This viewer can load and display VRML files comprising a limited subset of nodes. It is able to render point clouds (with colors and/or normals), as well as polylines and polygon meshes (all valid bindings, including textures, are supported).
Thu Jun 27 2013: Support for PLY files containing point clouds and polygon meshes has been added. The following properties are supported: normals per vertex and per face; colors per vertex and per face; texture coordinates per vertex and per corner. Textured PLY files should include the following comment line
comment TextureFile fileName
The image file type can be JPG or PNG. The fileName name can be an absolute path or a relative path, but since absolute paths are not portable, it is recommended to place the image file in the same directory as the PLY file, and include the relative path in the comment line.
If an input file does not contain normal vectors, whether WRL or PLY, the point cloud or mesh will not be shaded. If the file does not have colors or texture either, then it will be painted with a constant color as defined in the material node (WRL only at the moment).
Other features will be added soon. If you find bugs, please report them.
